5 ways a dehumidifier for water damage speeds up drying
After a leak or flood, time is the enemy of every surface. A dehumidifier for water damage creates the moisture gradient that pulls water out of materials and into the air so it can be removed safely. This article explains five practical ways the equipment speeds up drying and how to use it without creating new issues. You will learn how evaporation, airflow, and monitoring work together, what capacity to choose, and how to avoid over drying sensitive materials. The guide also covers coordination with extraction and safety checks that keep crews efficient. With a clear plan, drying moves faster and documentation stays consistent for clients and adjusters.
Way 1: dehumidifier for water damage accelerates evaporation
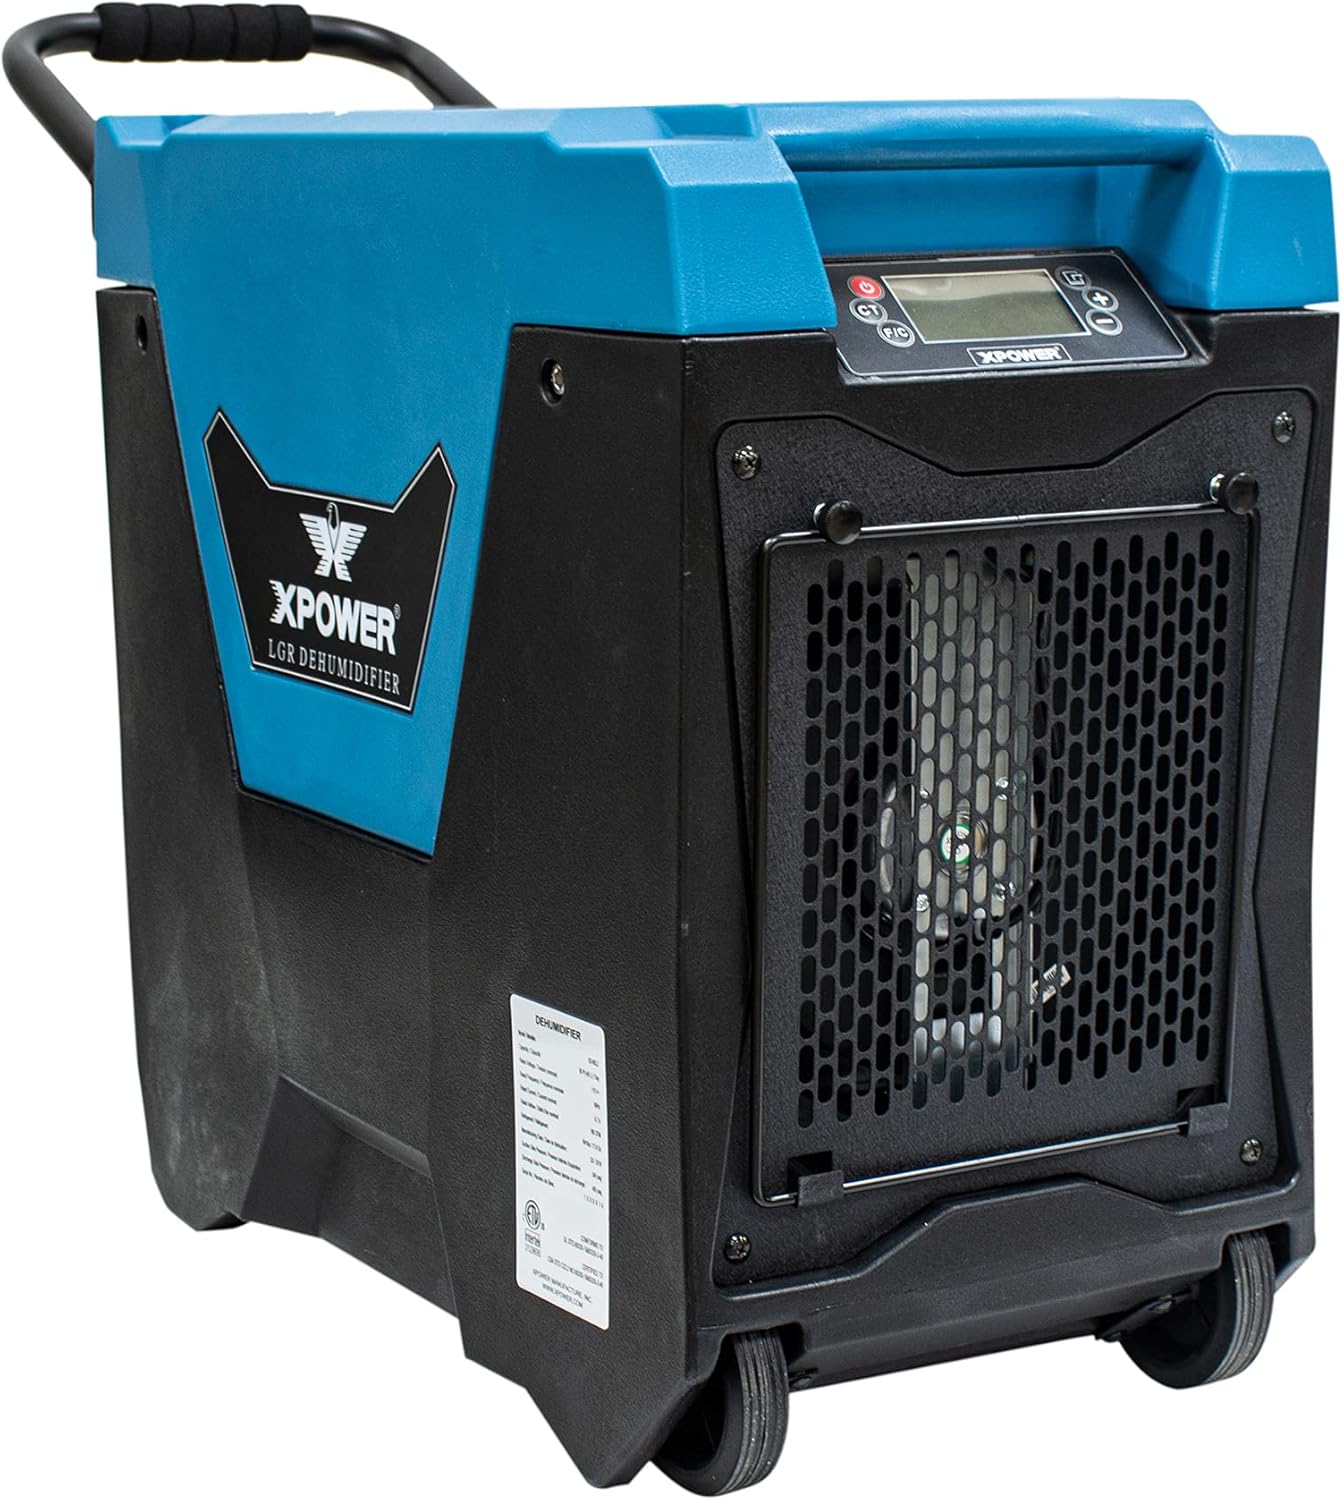
Lowering relative humidity speeds evaporation. A dehumidifier for water damage pulls moisture from the air so wet materials can release water steadily instead of stalling at a high humidity level. This is why a water damage dehumidifier is more effective than running household units on a flooded site. It keeps the moisture gradient strong so air continues to accept water from drywall, wood, and insulation. Crews can then track progress with consistent readings and make adjustments without stopping the job. Moisture mapping helps identify pockets so the drying zone stays focused. When a dehumidifier for water damage runs early in the process, it keeps the vapor pressure gradient strong and reduces drying stalls.
The goal is steady removal, not extreme drying. If humidity drops too fast, some materials can crack or warp. Start with a baseline reading, then adjust airflow and temperature to keep evaporation predictable. Controlled conditions reduce odors and limit the spread of moisture into adjacent rooms.
Way 2: faster drying with staged moisture removal
The equipment speeds up drying in several practical ways. Here are five that matter most for crews:
- It maintains a low humidity target so evaporation continues hour after hour.
- It supports faster water damage cleaning by keeping surfaces drier between extraction passes.
- It shortens drying time for pads and subflooring where moisture hides.
- It stabilizes moisture readings so reports are clear for clients and insurers.
- It reduces the size of the drying zone by keeping water damage equipment focused in the right rooms.
Each of these effects reduces delays and keeps the project predictable. Shorter drying windows also reduce rental costs and free crews to move to the next task. A steady plan protects sensitive materials like hardwood and cabinetry. It also helps crews communicate timelines with property managers and tenants. Clear milestones reduce call backs and keep documentation aligned.
Way 3: coordinate extraction and airflow for steady release
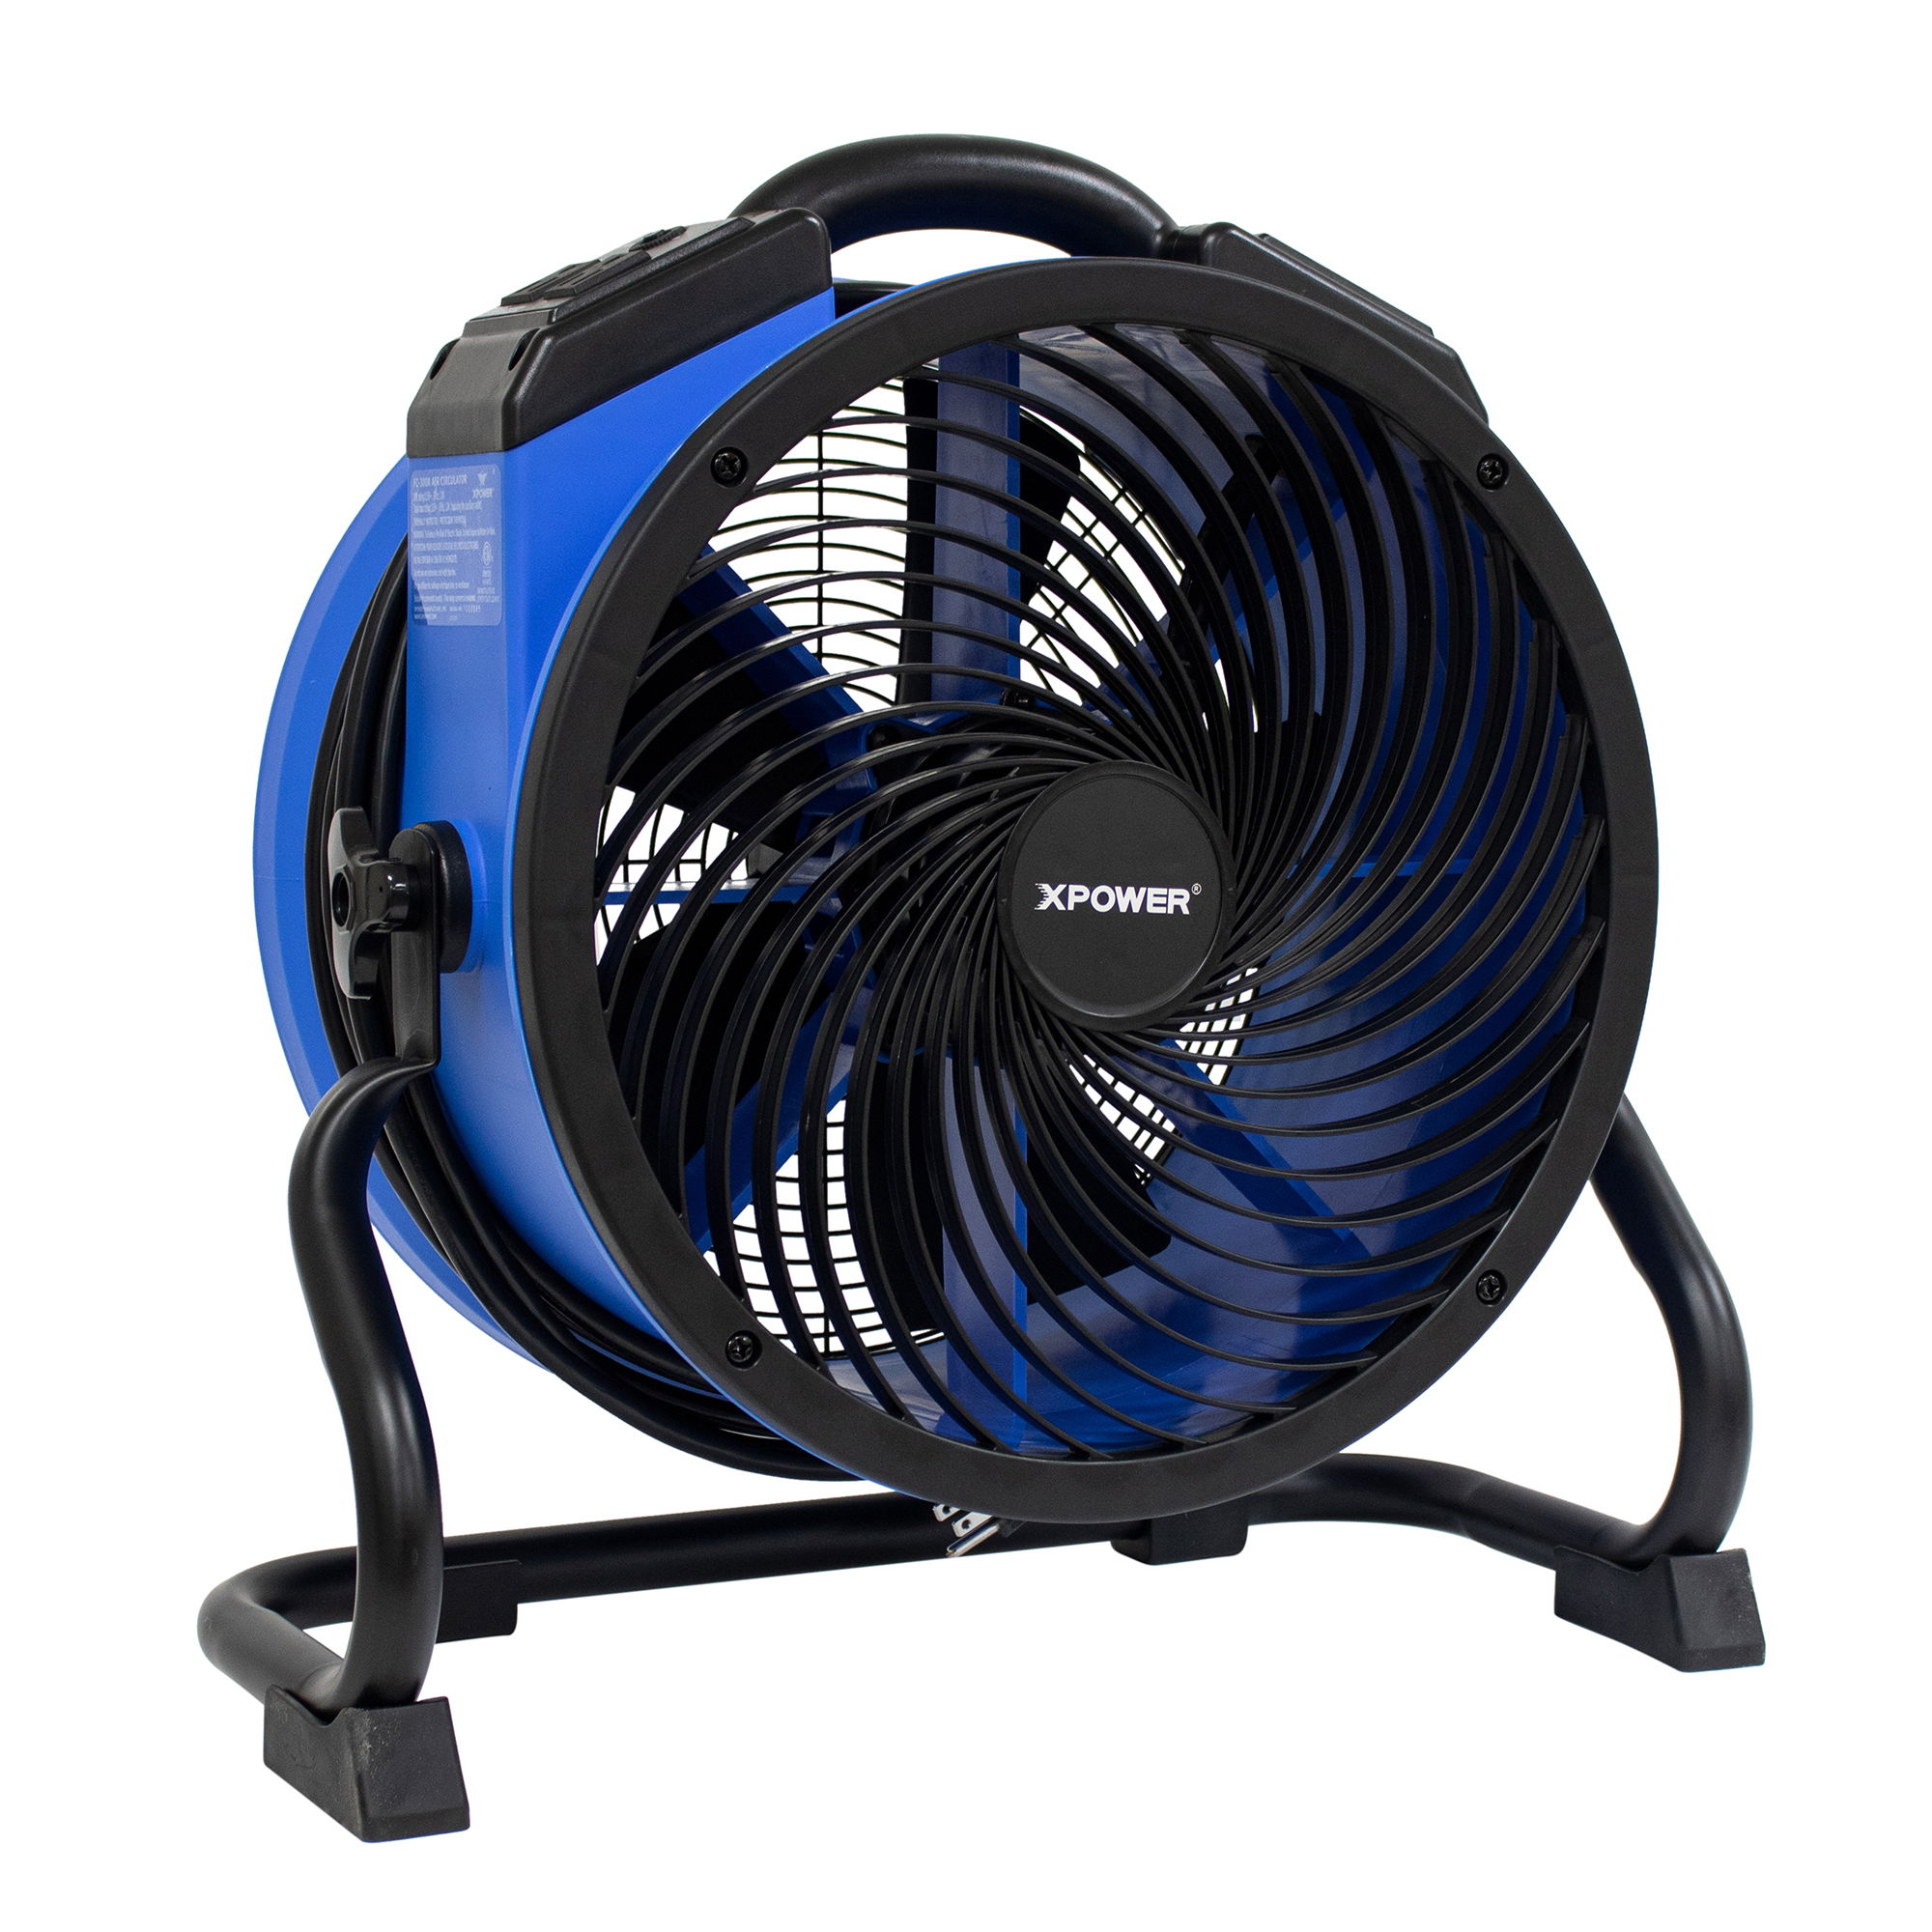
Dehumidification works best when paired with extraction and airflow. After standing water is removed, water damage air movers push moisture off wet surfaces so the air can carry it to the dehumidifier. A properly placed air mover for water damage should direct air across walls and flooring without blowing debris into clean areas. Use overlapping air paths to prevent stagnant corners, but avoid pointing high velocity air directly at fragile finishes. Angle airflow along wall surfaces to avoid forcing moisture into cavities. Keep cords elevated and hoses clear so foot traffic does not disrupt placement.
Balance airflow so the drying zone stays contained. If air leaks into untreated spaces, humidity control becomes inconsistent. Coordinate placement with containment barriers and doorway seals so the equipment works as a system, not as isolated pieces. If dust is present, vacuum and wipe surfaces so airflow does not spread debris.
Way 4: choose capacity and stage zones to avoid bottlenecks
Capacity choices depend on room volume, temperature, and material load. A restoration dehumidifier should match the cubic footage and expected moisture load so it does not short cycle. For larger losses, water damage restoration equipment often needs to be staged in zones, with each zone monitored separately. This approach prevents one oversized unit from over drying a small room while a larger area remains damp.
Plan the layout before power cords and hoses are routed. Keep equipment accessible for checks, and leave enough clearance for airflow around the intake. Use GFCI outlets where required and keep walk paths clear for safety. Label cords and hoses so they are easy to trace during daily checks. Confirm circuit capacity before plugging in multiple units, and map drainage routes so water flows safely. If power is limited, rotate equipment by room while maintaining monitoring targets. When the site conditions change, adjust the layout instead of pushing the same setup for the entire project.
Way 5: monitor and avoid over drying to protect materials
Monitoring is the safeguard that keeps drying on track. Check temperature, humidity, and material moisture daily, then log the numbers so the team can see trends. A dehumidifier for water damage should run with clear drainage, clean filters, and stable power to avoid surprise shutdowns. If readings plateau, reduce the drying zone or adjust airflow rather than running the unit longer without results. Use both non invasive and pin meters to confirm readings behind baseboards and inside cabinets.
Avoid over drying delicate wood or finishes by stepping down equipment as targets are reached. Set clear stop conditions so the team knows when to remove equipment. The safest projects are the ones that respond to data instead of assumptions. Set a consistent check time each day so readings are comparable.
Support: scale the plan as rooms dry
Drying plans should shrink as targets are met. As rooms reach their moisture goals, move equipment to areas that still need attention and reduce the overall drying zone. This is where a dehumidifier for water damage proves its value because it can be staged and rebalanced without interrupting the workflow. Keep one zone active while another is finishing so crews avoid downtime.
Use a simple checklist before moving equipment: confirm current readings, verify that affected materials are stable, and inspect hidden spaces like under baseboards or inside closets. When the plan scales down, energy use drops and noise levels improve, which helps occupants return sooner. A deliberate step down also prevents over drying and keeps the job within budget. Document the step down with photos and notes so the record stays clear. This helps justify the timeline if questions arise later.
Conclusion
Fast drying is about control, not brute force. When a dehumidifier for water damage is sized correctly and used with proper airflow, moisture leaves the structure faster and the risk of secondary damage drops. Keep a clear log, adjust the setup as rooms dry, and protect sensitive materials with gradual changes. Clear records also speed approvals. Share the drying plan with everyone on site so steps are followed consistently. Consistent communication prevents rework and keeps safety checks on schedule. If you need help choosing equipment for a specific job, reach out to NCBC Equipment for guidance on models and staging plans that fit your site.
FAQ
How fast should a dehumidifier for water damage be set up?
Set it up after extraction and safety checks are complete. Early setup shortens the drying window and reduces secondary damage.
Can one unit handle multiple rooms?
It can if rooms are zoned and airflow is controlled. Large or open areas often need additional units.
What readings show the drying plan is working?
Track humidity and material moisture at the same time each day. Steady drops indicate the plan is on pace.